

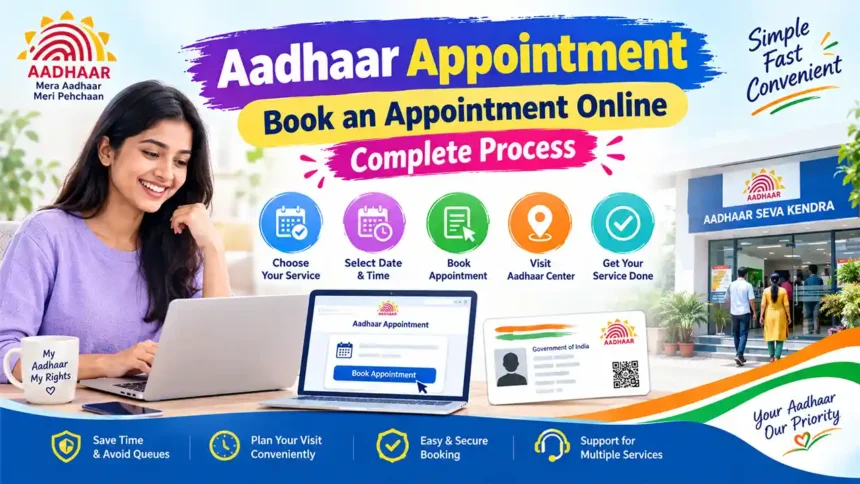
Aadhaar Appointment: Book an Appointment Online (Step-by-Step Guide for Beginners)
Do you want to make a new Aadhaar card, update your mobile number, correct your name or address, or update your fingerprints and photo? Instead of standing in a long queue, you can book an Aadhaar Appointment Online and visit the centre at your chosen date and time. In this guide, I explain the complete process in simple words: official website, documents, types of appointments, how to reach the Aadhaar Centre and what happens there.
1. Official Website to Book Aadhaar Appointment
Always use the official UIDAI websites only. Never pay any agent or fake website for an appointment slot.
| Purpose | Official Link |
|---|---|
| Book Appointment | https://appointments.uidai.gov.in/ |
| myAadhaar Portal (updates, download) | https://myaadhaar.uidai.gov.in/ |
| UIDAI Main Website | https://uidai.gov.in/ |
| Find Nearest Aadhaar Centre | https://bhuvan-app3.nrsc.gov.in/aadhaar/ |
Helpline: 1947 (toll free) | Email: help@uidai.gov.in
2. Which Type of Aadhaar Appointment Can Be Booked?
On the appointment portal you can book a slot for these services:
For people who do not have an Aadhaar number yet (adults and children). Enrolment is free of charge.
Change or correct Name, Address, Date of Birth, Gender, Mobile Number or Email ID.
Update fingerprints, iris scan and photograph (face). Needed if prints are not matching, after a long gap, or after an injury.
A child’s biometrics must be updated at age 5 and again at age 15. Parents should book this slot for their children.
Blue-coloured Aadhaar for small children. No fingerprints or iris are taken; only a photo is captured and the parent’s Aadhaar is linked.
Note: Aadhaar number can also be printed/downloaded and some updates (like address with documents) can be done online on myAadhaar. But for biometric and new enrolment, you must visit the centre.
3. Documents Required
Carry original documents to the centre. The operator scans them on the spot and returns them to you. Common accepted documents:
| Proof Type | Accepted Documents (any one) |
|---|---|
| Proof of Identity (POI) | Passport, PAN Card, Voter ID, Driving Licence, Ration Card with photo, Govt. ID card, School photo ID |
| Proof of Address (POA) | Passport, Bank Passbook/Statement, Voter ID, Driving Licence, Electricity/Water/Gas bill (not older than 3 months), Ration Card, Rent agreement |
| Date of Birth (DOB) | Birth Certificate, Passport, 10th Marksheet/SSC Certificate, PAN Card |
| Relationship Proof (for children / Head of Family) | Child’s birth certificate, parent’s Aadhaar, Ration Card, Marriage Certificate (as applicable) |
- New enrolment (adult): one POI + one POA + one DOB proof.
- Child (below 18): birth certificate / school ID, and the Aadhaar of at least one parent (who must come along).
- Mobile number update: usually no document needed, only your Aadhaar and biometric verification.
- Name / DOB / Address correction: the correct document that shows the new details.
The complete and latest list is available on the official UIDAI website under “List of Supporting Documents”.
4. How to Book Aadhaar Appointment Online (Step by Step)
- Open the website: Go to appointments.uidai.gov.in in your mobile or computer browser.
- Select City/Location: Choose your city or state and click “Proceed to Book Appointment”.
- Choose Aadhaar Seva Kendra: Select the centre nearest to you from the list (ASK centres).
- Enter Mobile Number: Type your mobile number, fill the captcha and click Generate OTP. Enter the OTP received by SMS to verify.
- Select Service: Choose New Aadhaar or Aadhaar Update, then tick what you want to update (Name, Address, DOB, Mobile, Biometric etc.).
- Fill Applicant Details: Enter your name, Aadhaar number (for update), email and other details asked.
- Pick Date and Time Slot: A calendar shows available dates. Choose a convenient date and time.
- Confirm and Pay (if shown): Review the details and confirm the booking.
- Download Appointment Slip: Save the PDF/printout. It contains your appointment number, centre address, date and time.
5. How to Visit the Aadhaar Centre
- Reach the centre 15–20 minutes before your slot time.
- Carry your appointment slip (printed or on phone), original documents and photocopies if asked.
- Carry the mobile phone linked with Aadhaar; the OTP may be needed.
- For a child, the parent must accompany with their Aadhaar card.
- At the entrance, show the slip to the staff, take a token number and wait for your turn.
- Do not give money to any person outside. Fees are charged only as per UIDAI rules and you must get a receipt.
6. What to Do at the Centre
A) New Aadhaar Enrolment
- Show appointment slip and documents to the operator.
- Fill the enrolment form (or the operator fills it on the computer).
- Documents are scanned (POI, POA, DOB).
- Your photo, 10 fingerprints and both iris scans are captured.
- Check all details on the screen carefully (spelling of name, DOB, address).
- Sign/give consent and collect the Enrolment Slip with EID (14-digit number) and date/time stamp.
- Aadhaar is generated generally within 90 days; check status on the UIDAI site using EID.
B) Biometric Update (Fingerprint, Iris, Photo)
- Tell the operator you want a biometric update and give your Aadhaar number.
- Your existing identity is verified using fingerprint/iris or OTP.
- New fingerprints, iris scan and photo are captured.
- Pay the fee (if applicable) and get the URN (Update Request Number) slip.
- Track the update status using the URN on the UIDAI website.
C) Demographic Update (Name, Address, DOB, Gender, Mobile, Email)
- Give your Aadhaar number and mention exactly what has to be changed.
- Submit the supporting original document that shows the correct detail.
- Operator enters the change; verify the new details on the screen.
- Your fingerprint is verified for authentication.
- Pay the fee, collect the acknowledgement slip with URN.
- Update is usually completed within 30 days, and you can download the updated e-Aadhaar.
D) Mandatory Biometric Update for Children (age 5 and 15)
Take the child with a parent, the child’s current Aadhaar, and the parent’s Aadhaar. Fingerprints, iris and photo are updated. This service is generally free for children in the mandatory age group.
7. Aadhaar Service Charges
| Service | Fee |
|---|---|
| New Aadhaar Enrolment | Free |
| Mandatory Biometric Update (child 5–15 years) | Free |
| Demographic Update (name, address, DOB, mobile etc.) | Paid (approx. ₹75) |
| Biometric Update (fingerprint, iris, photo) | Paid (approx. ₹125) |
Fees are set by UIDAI and may change. Please confirm the current charges on the official UIDAI website before visiting.

8. Common Mistakes to Avoid
- Visiting without original documents.
- Booking the wrong service type (e.g. selecting new enrolment for an update).
- Mobile number not working, so OTP is not received.
- Spelling mistakes in name or address which are not checked on the screen.
- Trusting agents who promise “fast Aadhaar” for extra money.
Frequently Asked Questions (FAQ)
Not always. Many centres accept walk-ins, but booking an appointment saves time, especially at busy Aadhaar Seva Kendras.
No. Mobile number update needs biometric verification, so you must visit an Aadhaar centre.
No. The Aadhaar holder must be present personally for biometric capture. Parents accompany children.
Use your URN or EID on the “Check Enrolment & Update Status” option at the UIDAI website.
Yes, reschedule or cancel from the appointment portal using your appointment number and mobile number.
Booking an Aadhaar appointment online is simple: choose your centre, select the service, verify with OTP, pick a slot and download the slip. Keep your original documents ready and reach the centre on time. Follow the steps above and your Aadhaar enrolment or update will be completed smoothly. If this guide helped you, share it with friends and family who need Aadhaar services.

